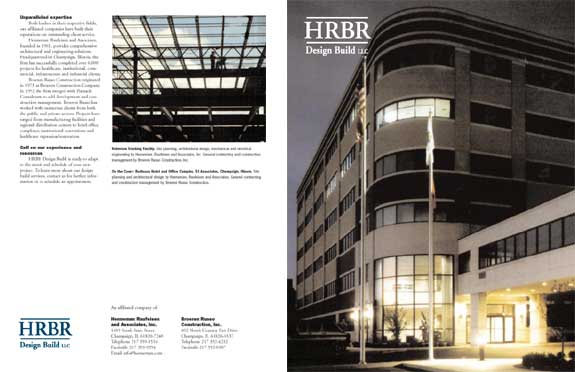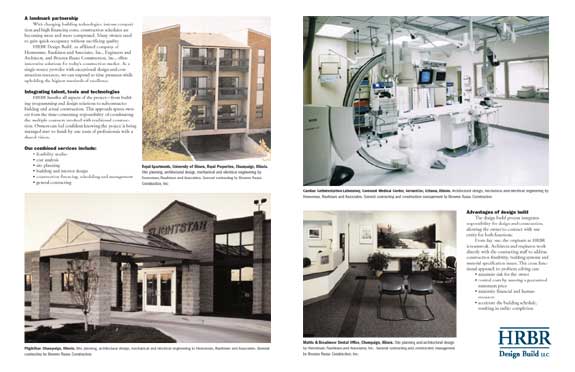

Objective
To learn InDesign layout and production techniques by recreating
the 4-page brochure above.
Procedure
prepping for the exercise
- download starter files
- examine downloaded files
- launch InDesign
- file > new: letter, portrait; pages=4, facing pages=yes;
margins top/bottom/inside=3p, outside=4p6; bleeds=1p
- practice Adobe navigation keyboard shortcuts: space=hand; space+cmd=zoom
in; space+cmd+opt=zoom out; cmd+zero=fit in window
- practice InDesign preview shortcuts: cmd+opt+I (show/hide hidden
characters); W (normal/preview mode)
- window > pages: panel options: size=medium; view pages: horizontal
- go to page 4
- RMB > numbering & section: start page at "4"
- RMB > allow document pages to shuffle = yes
- drag page 4 into position (to the left of page 1)
- go to page 5
- RMB > numbering & section: start page at "1" (note small triangle)
laying out the brochure
- file > place all assets (cmd+D)
- replace ^p^p with ^p (cmd+F)
- replace two SPACES with one SPACE
- window > paragraph styles: edit "normal" style: 10/12 Adobe Garamond; first line indent=1p6; hyphenation=on
- duplicate "normal" style, rename "h1":
10/12 Helvetica LT Std Black,
space before=1p, first line indent=0; hyphenation=off
- duplicate "h1" paragraph style, rename "caption":
8/10 Helvetica LT Std Light Condensed, space before=0p10
- new character style "caption+bold": Helvetica LT Std Black Condensed
- apply styles and split text into logical frames
- finish layout (make as many alignments as possible)
- adjust layout until it matches the reference file
- add your name and exercise number to page 4
pre-press checklist
- window > output > separation preview
- window > swatches: convert spot colors to CMYK
- file > package
- file > adobe PDF presets > press quality (spread=yes; marks & bleed: all printer's
marks, with bleed)
- print PDF on 12x18 paper (page setup: tabloid oversize; printer: print on both sides, binding: short edge; manual feed)
grading
- submit laser with your name and exercise number for grading
- file graded proof in your Process Book for individual review


