Objective
To learn different ways of adding art to an InDesign document: cutting and pasting vector art from Illustrator, placing vector art, and placing photos. To learn how to edit, crop, and rotate art on the page. To learn how to add text wrap and drop shadows.
Procedure
laying out page 1

- download and unzip the starter files: ICE_Cover.zip
- open ICE_Cover.indd
- type > show hidden characters (cmd+opt+I)
- window > layers: new layers "guides", "art", "art ghosted"
- go to "guides" layer, lock others
- drag a vertical guide that aligns with the left edge of the "I"
- go to "art" layer, lock others; hide "bg" layer
- open gelato ICE logo.pdf in Illustrator
- copy/paste art into "art" layer in InDesign
- select the orange parts of the logo: fill=paper
- select all, group art (cmd+G)
- reveal "bg" layer
- scale and reposition logo
- copy logo to "art ghosted" layer: opt+drag SQUARE to new layer
- hide "art" layer
- ungroup art (cmd+shift+G), delete type
- select snowflake art, group (cmd+G)
- window > effects: opacity=20%
- scale, rotate, reposition art
- reveal all layers, lock all layers
- save
laying out page 2
- unlock "art" layer
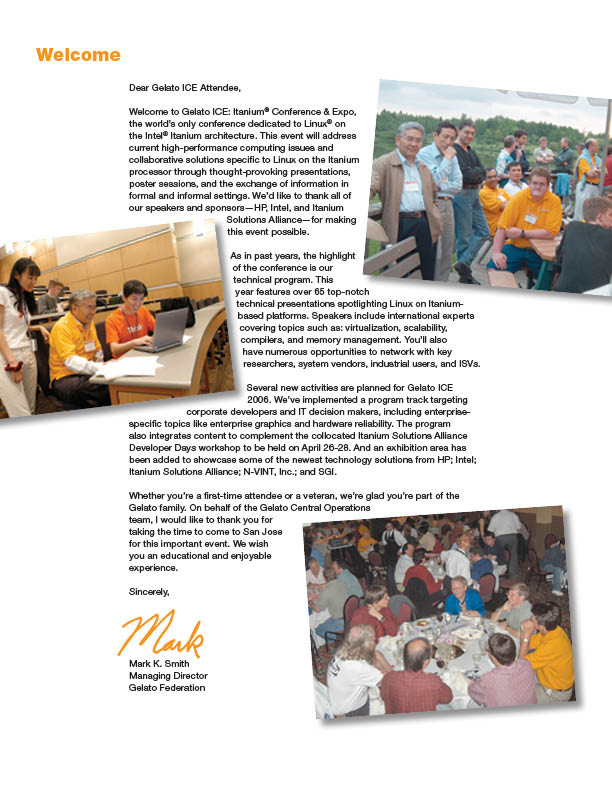
- file > place: welcome1.jpg, welcome2.jpg, and welcome3.jpg
- select all photos
- scale images to approx 3 columns wide
- select welcome1.jpg
- window > text wrap: wrap around bounding box = yes (offset 0p6 all around)
- object > effects > drop shadow: opacity=50%, X/Y offsets=0p6, size=0p6
- window > styles > object: new style "drop shadow 50%"
- apply style to all 3 photos
- reposition photos as seen in the example
- rotate the photos -10°, 10°, and 5° respectively
- direct select tool: adjust the wrap as needed
- file > place mark signature.tif, scale
- direct select tool: select content of picture frame, fill=orange
- add your name and exercise number to both pages and print
grading
- submit b&w proof with your name and exercise number on it for grading
- file your graded proof in your Process Book for individual review
